| Bookmark Name | Actions |
|---|
Profile Settings
Use the feature to manage various settings of your profile.
Menu Path:
- Side menu > Settings > Profile Settings
- Top menu > Profile picture > Profile Settings
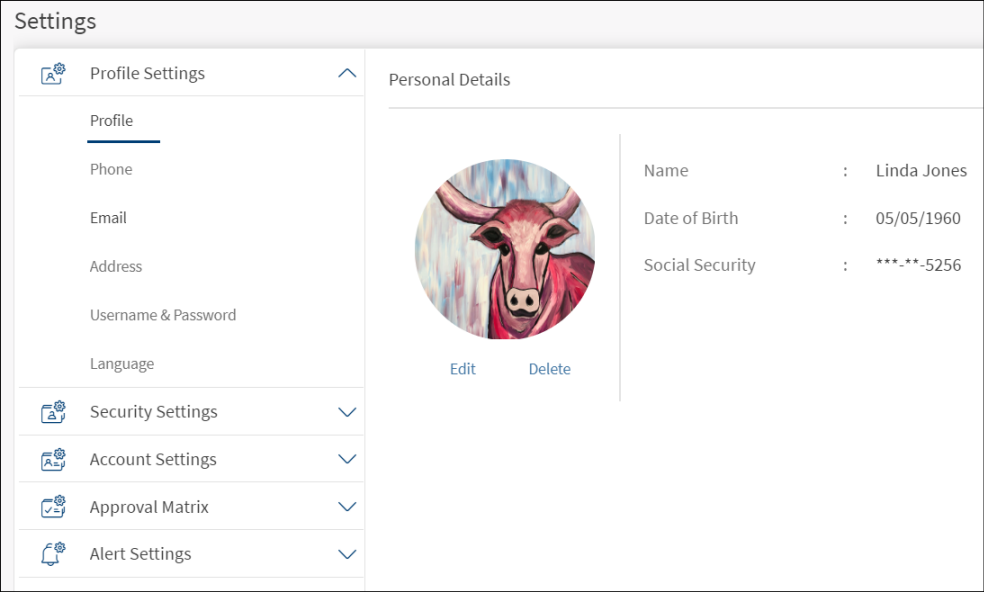
The application displays the Personal Details section by default.
You can add or modify any of the following details:
- Personal details
- Phone number
- Email ID
- Address
- Username and Password
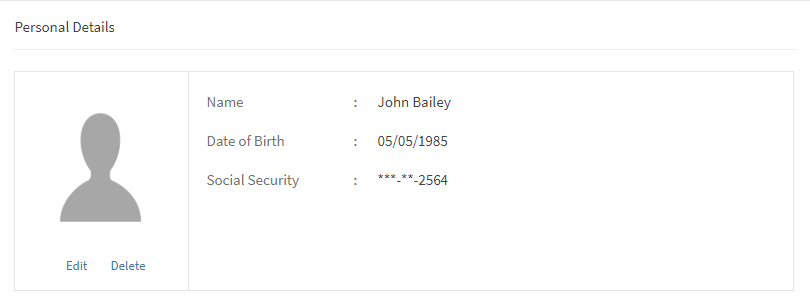
Personal Details
Use the feature to add or modify the personal details.
Under the Profile Settings section, click Profile.
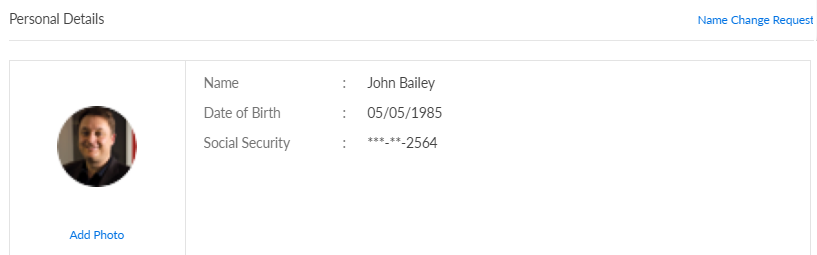
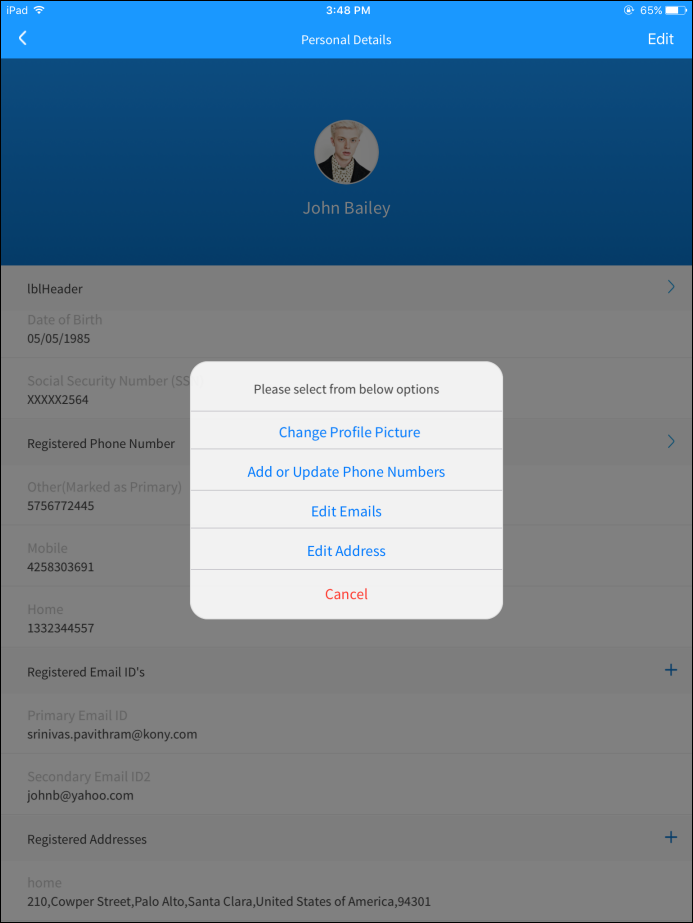
The application displays the Personal Details section, with your name, date of birth, social security number (SSN), and profile picture. The application displays only the last four digits of your SSN and masks the other digits.
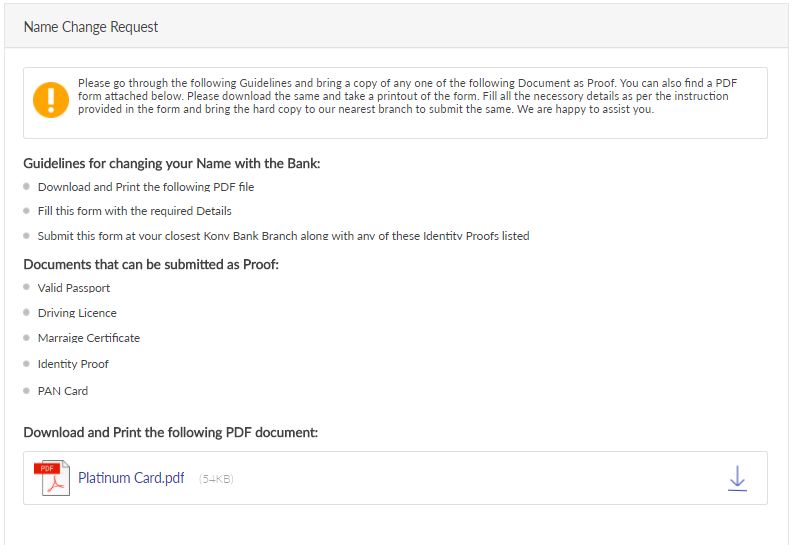
Click Name Change Request to read the rules that you must follow to change the name of your profile. You can also download the instructions file.
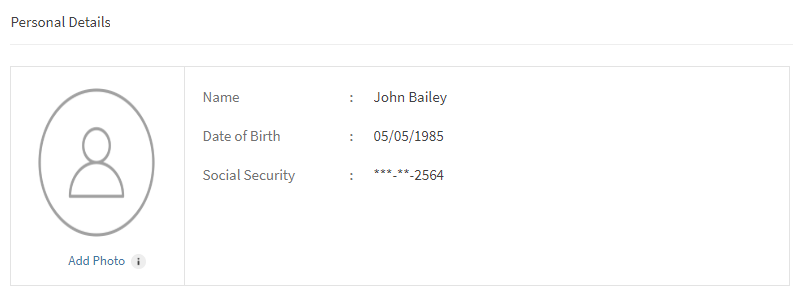
Add Photo
Click Add Photo to add your profile picture. You can browse for a picture from your local system and upload it.
If your profile picture is already existing and you want to modify the image, click Edit.
The uploaded profile picture is stored in the Infinity database.
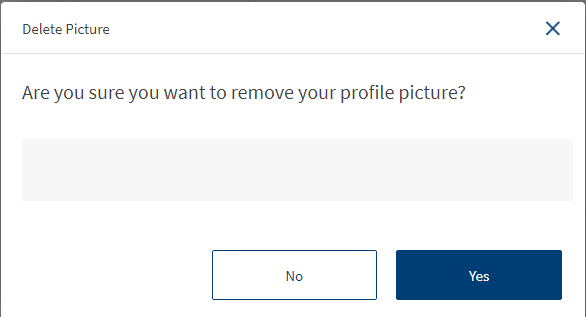
You can delete the uploaded profile picture by clicking Delete. The following pop-up is displayed.
Limitations
- The maximum size of the image to be uploaded is 2MB.
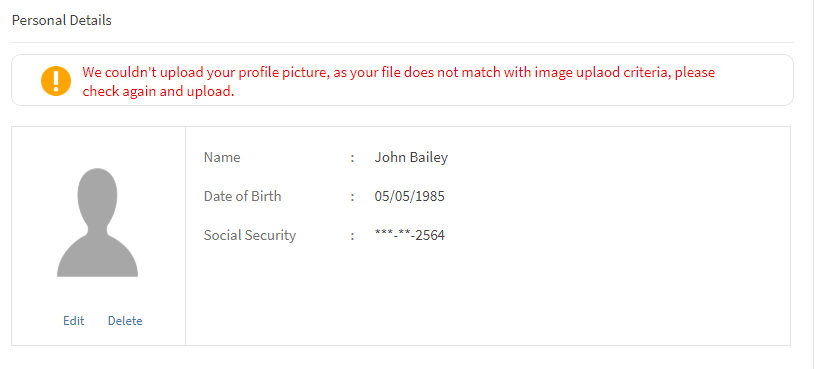
- If you upload an image greater than the maximum size allowed, an error is displayed and you must reupload the image.
- The image will be cropped as per the design (circular) to display.
- If an image is already uploaded and if you reupload another image, the existing image will be replaced with the new image.
- Recommended file formats to upload the image is .png and .jpg. If you upload an image other than the recommended file formats, the following error message is displayed. You must reupload the image.
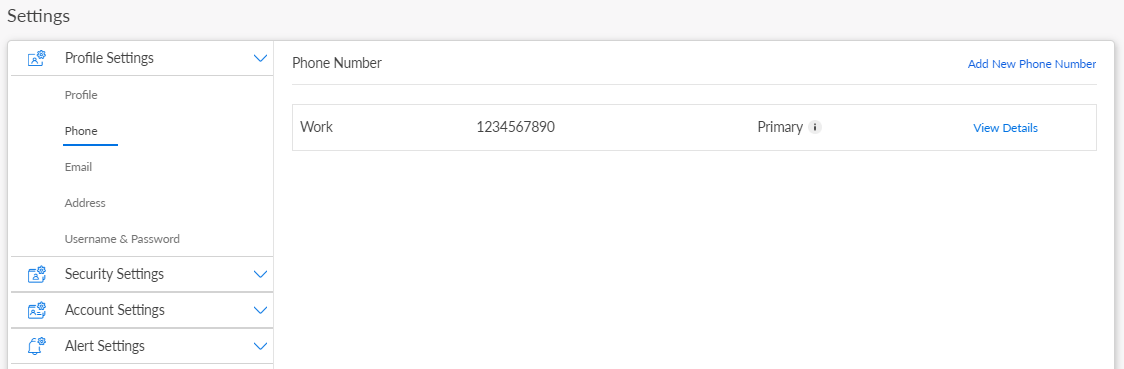
Phone Number
Use the feature to add a new phone number or modify the services linked to a saved phone number.
Under the Profile Settings section, click Phone. The application displays the Phone Number section, with the details of your previously added phone numbers. For a combined user with access to retail and business accounts, both personal and business phone numbers are maintained and the application maintains a distinction between the personal and business phone numbers. The application indicates the phone number which you have selected as your primary phone number. You can only select one phone number as primary.
Add a New Phone Number
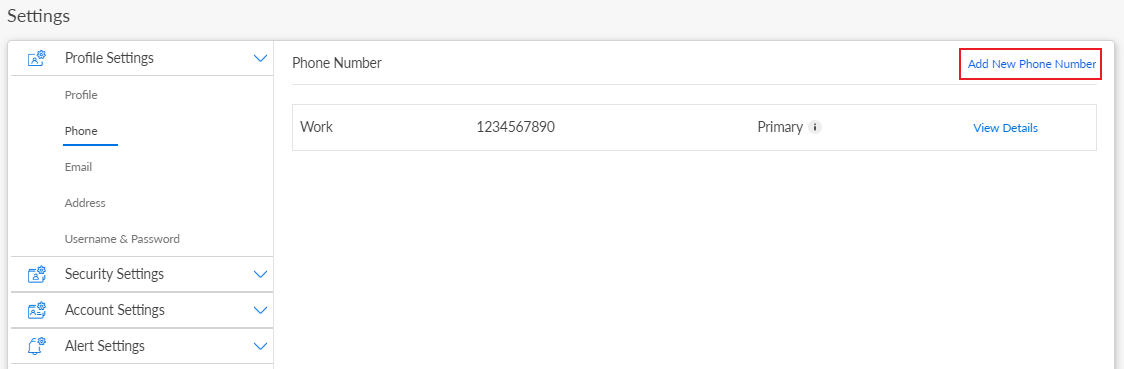
Click Add New Phone Number. The app displays the Add phone Number screen.
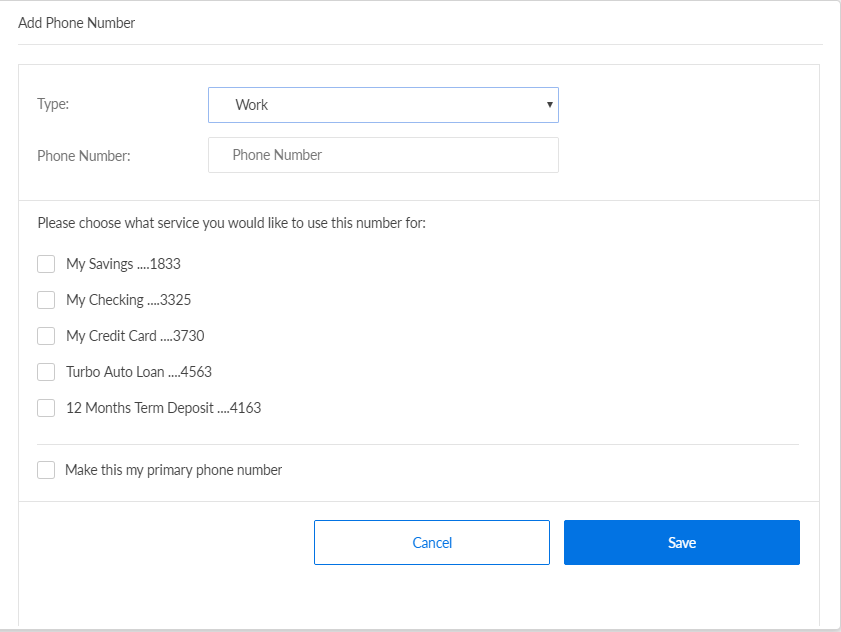
You must specify the following details:
- Type. Select the type of phone number, whether mobile, work phone, or home phone.
- Phone Number. Type the phone with an extension, if any.
- Select any of the various available services, such as Auto Loan, Credit Card, etc., for which you want to receive notifications on that phone number.
- Select the option if you want to save the number as your primary phone number. If you had selected another phone number as primary, the app displays a message that choosing the new phone number as primary will replace the earlier selection.
Click Save. The app adds the new phone number and displays it on the Phone Number screen. You can add up to 3 phone numbers.
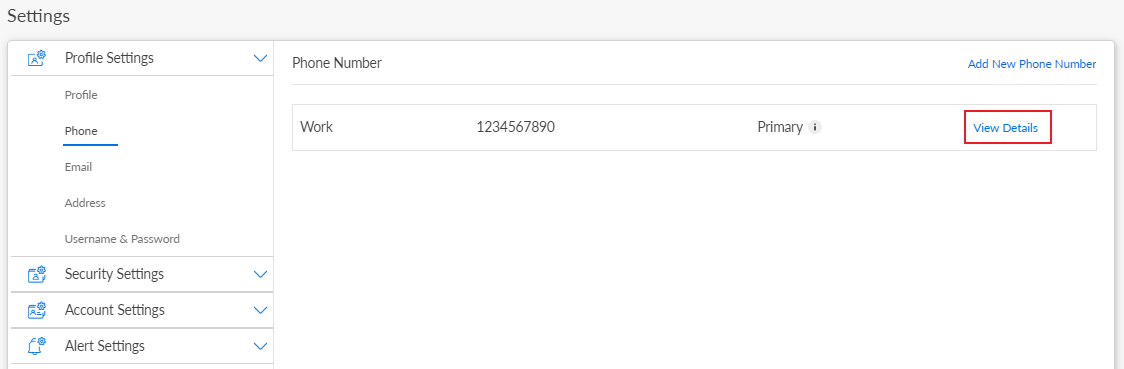
View/Edit a Phone Number
For the required phone number, click View Detail. The app displays the Phone Number Detail screen, with various details that you had previously saved for the phone number.
Click Edit. The app displays the Edit Phone Number screen.

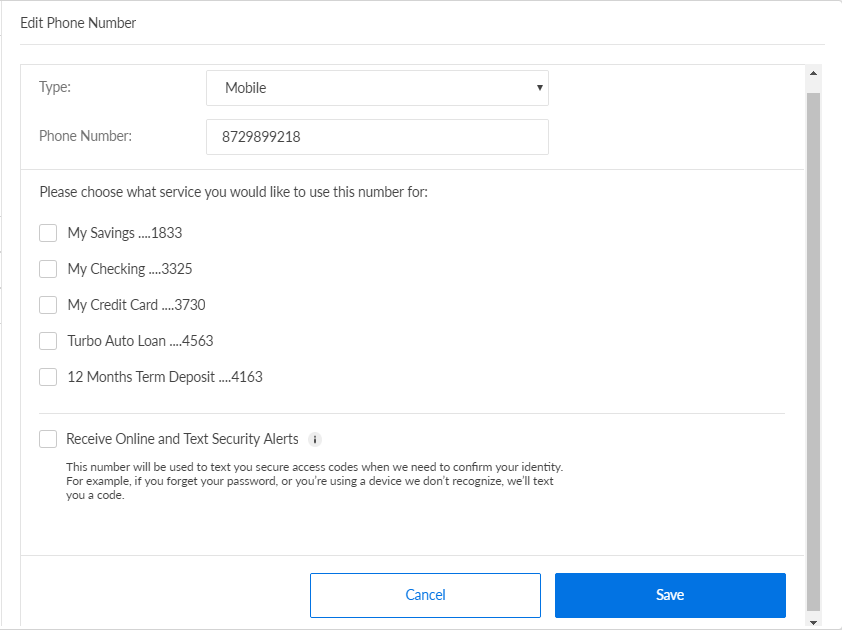
You can modify the details of all the fields: Country, Type, Phone Number. You can also select/deselect any of the various available services, such as Auto Loan, Credit Card, etc., for which you want to receive notifications on that phone number.
In addition, you can choose to select the phone number as your primary phone number. If you had selected another phone number as primary, the app displays a message that choosing the new phone number as primary will replace the earlier selection.
Furthermore, you can select the option if you want to receive on the number, identification codes when your bank needs to confirm your identity. For example, if you forget your password, or the app does not recognize the device that you are using.
Click Save. The app updates the phone number details and displays it on the Phone Number screen.
Email ID
Use the feature to add a new email ID. You can also modify the details of a saved email ID or delete an email ID.

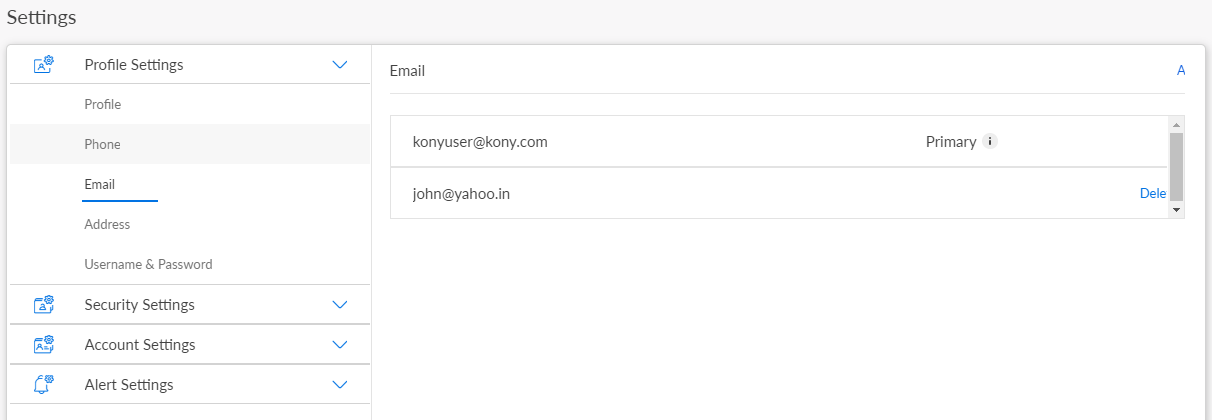
Under the Profile Settings section, click E-Mail. The application displays the Email section with the details of your previously added email IDs. For a combined user with access to retail and business accounts, both personal and business email IDs are maintained and the application maintains a distinction between the personal and business email IDs. The application indicates the email ID which you have selected as your primary email address. You can only select one email ID as primary.
Add a new Email ID
Click Add New Email. The app displays the Add New Email screen.
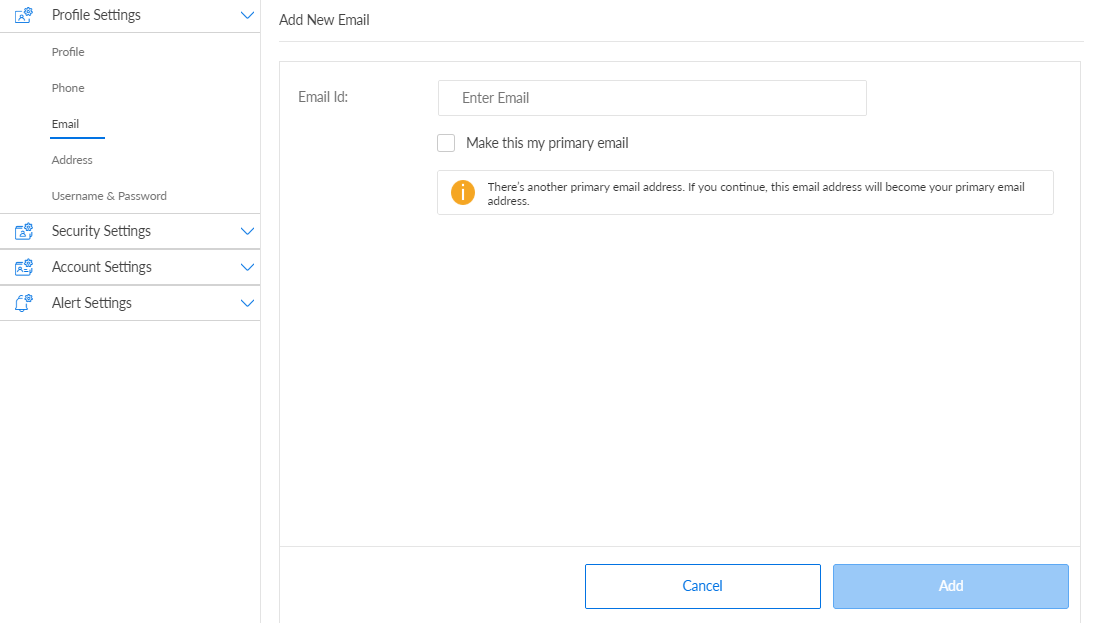
Type the email address in the Email ID field.
Select the option if you want to choose the email ID as your primary email address. If you had selected another email ID as primary, the app displays a message that choosing the new email ID as primary will replace the earlier selection.
Click Add. The app adds the new email ID and displays it on the Email screen. You can add up to 3 email ids.
Edit an Email ID
For the required email ID, click Edit. The app displays the Edit Email screen.
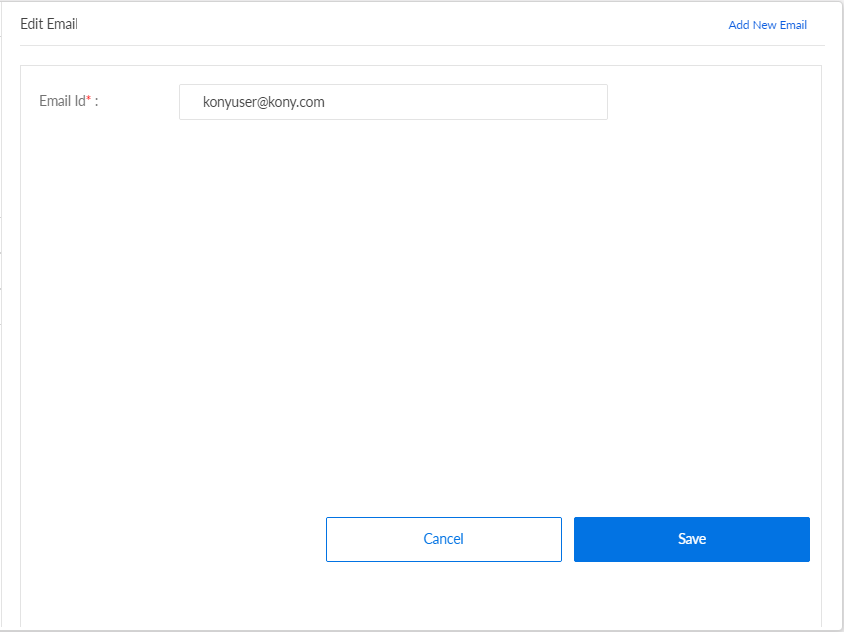
Modify the email address in the Email ID field.
Select the option if you want to choose the email ID as your primary email address. If you had selected another email ID as primary, the app displays a message that choosing the new email ID as primary will replace the earlier selection.
Click Save. The app updates the email ID details and displays it on the Email screen.
Delete an Email ID
For the required email ID, click Delete. The app displays a pop-up message asking if you want to delete the email ID. You cannot delete a primary email ID.
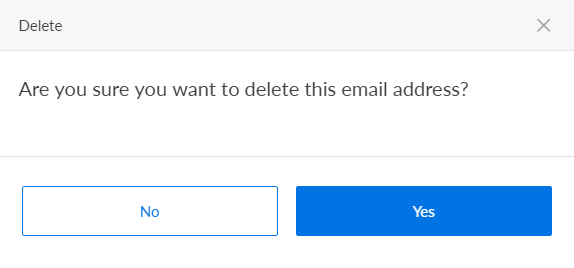
Click Yes. The app deletes the email ID and removes it from the Email screen.
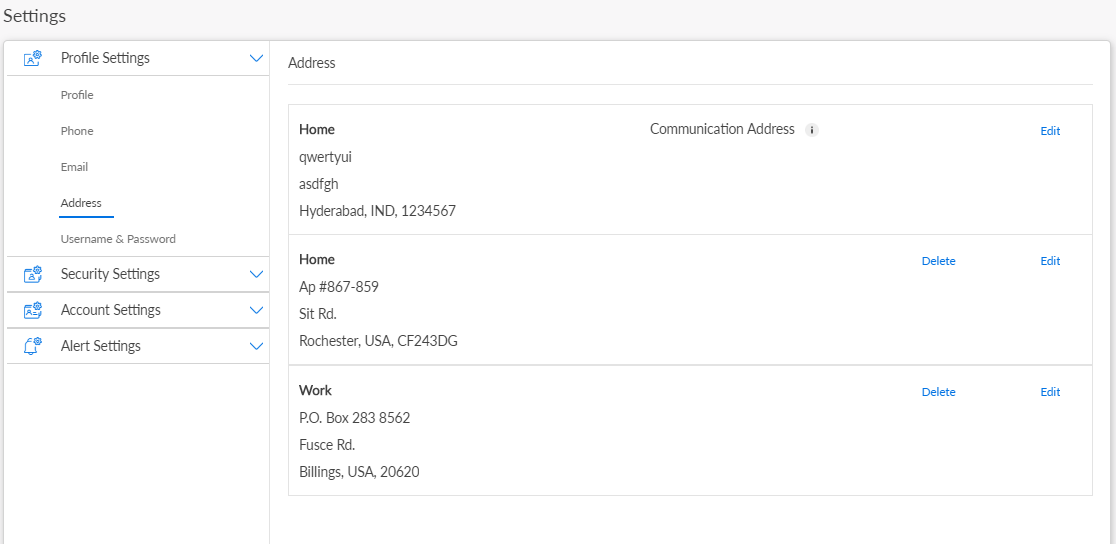
Address
Use the feature to add a new address. You can also modify the details of a saved address or delete an address.
Under the Profile Settings section, click Address. The application displays the Address section, with the details of your previously added addresses.
Add a new Address
Click Add New Address. The app displays the Add New Address screen.
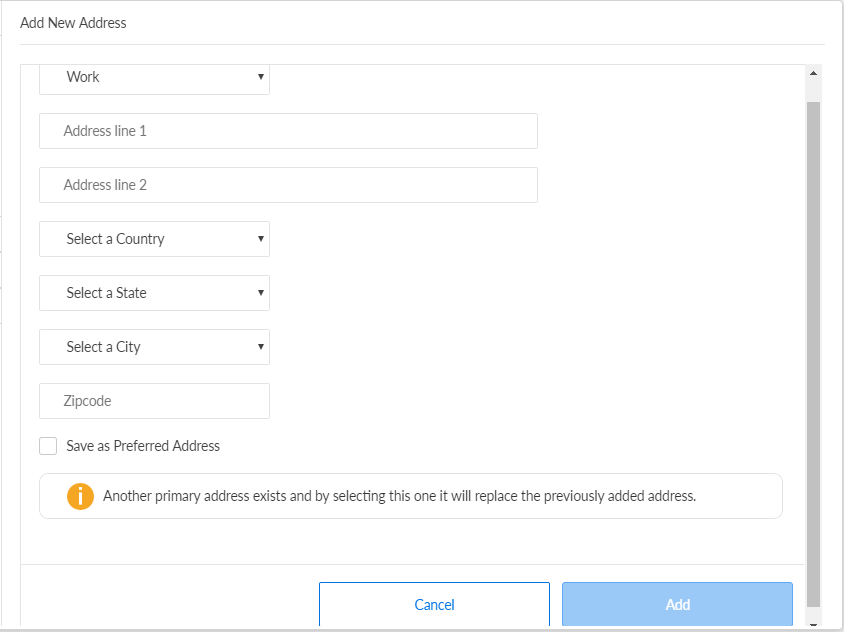
You must specify the following details:
- Type of address. Select if it is a work or home address.
- Address lines 1 and 2.
- Country
- State
- Zipcode
Select the option if you want to choose the address as your preferred address. If you had selected another address as primary, the app displays a message that choosing the new address as the preferred address will replace the earlier selection.
Click Add. The app adds the new address and displays it on the Address screen.
Edit an Address
For the required address, click Edit. The app displays the Edit Address screen.
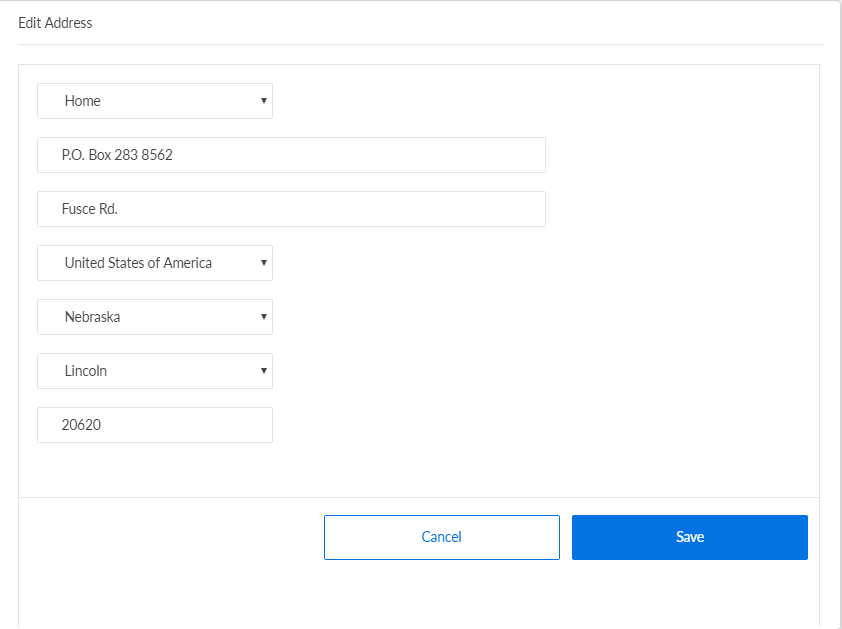
You can modify the details of all the fields: Type of address, Address lines 1 and 2, Country, State, State, and Zipcode.
Click Save. The app updates the address details and displays it on the Address screen.
Delete an Address
For the required address, click Delete. The app displays a pop-up message asking if you want to delete the address. You cannot delete a preferred communication address.
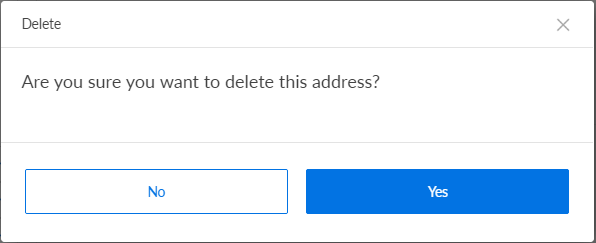
Click Yes. The app deletes the address details and removes it from the Address screen.
Username and Password
Use the feature to modify your OLB username and password details.
Under Profile Settings, click Username and Password. The app displays the Username and Password screen.
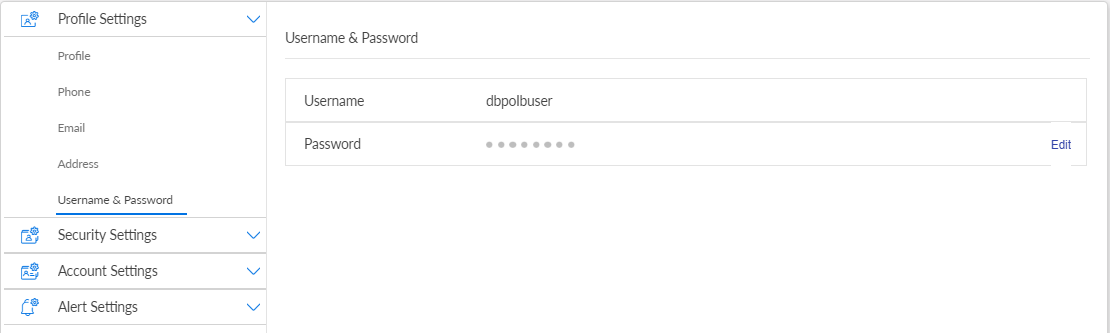
Edit the Username
Click Edit beside the Username field. The app displays the Edit Username screen.
Modify your user name in the Username field. The user name is not case-sensitive. You must follow these validation criteria while changing the user name:
- It must be between 8-24 characters.
- You must not add any spaces or special characters, except for the period "."
- You can use alpha-numeric (a-z, A-Z, 0-9) characters.
- It must start with a letter or a number.
- You cannot use the period "." symbol more than once.
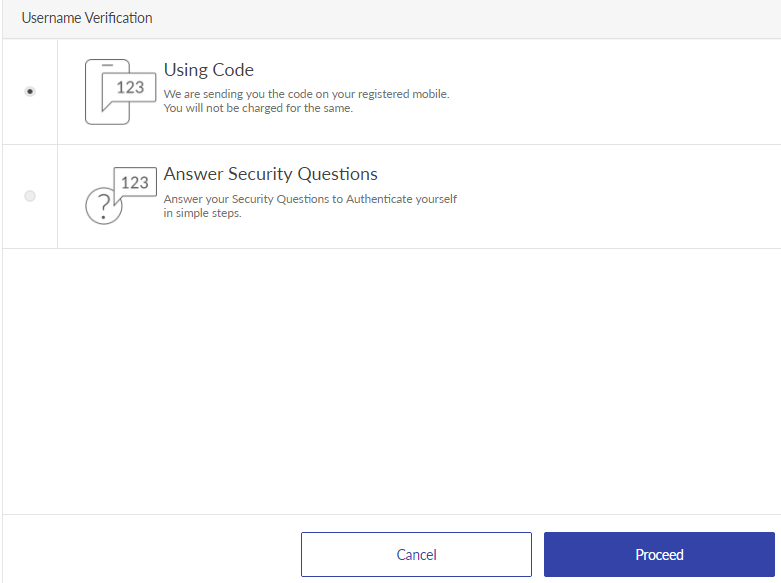
Click Proceed. The app displays the Username Verification screen.
You must validate your identity by any one of the following methods:
- By entering a one-time passcode.
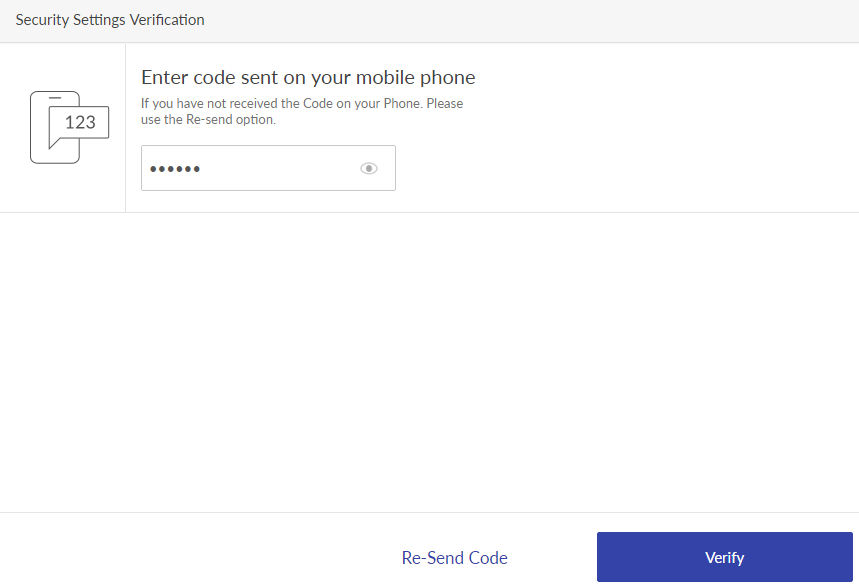
- Select the Using Code option. Click Proceed. The app displays the Security Settings Verification screen.
- Click Send. The app sends the six-digit verification code to your registered mobile number.
- Type the code in the provided field.
- Click Verify. If another user name exists with the same name, the app asks you to provide a unique user name. On a successful update, the app displays the Acknowledgment screen with an appropriate message.
- Click Done. The app updates the user name and navigates you back to the Username & Password screen.
- By answering security questions. If you have not set up your security questions, the app navigates you to the Security Settings Verification screen to enter the OTP.
- Select the Answer Security Questions option. Click Proceed. The app displays the Answer Security Questions screen with two random security questions.
- Type answers to both of the questions.
- Click Verify. If another user name exists with the same name, the app asks you to provide a unique username. On a successful update, the app displays the Acknowledgment screen with an appropriate message.
- Click Done. The app updates the user name and navigates you back to the Username & Password screen.
NOTE: The option to update user name can be enabled/disabled via the configurations defined in the Configuration Options page. By default, this configuration is 'false' and the option to edit the user name is hidden. In case a bank wants to allow the users to update their user name, the configuration can be made 'true'.
Edit the Password
Click Edit beside the Password field. The app displays the Edit Password screen.
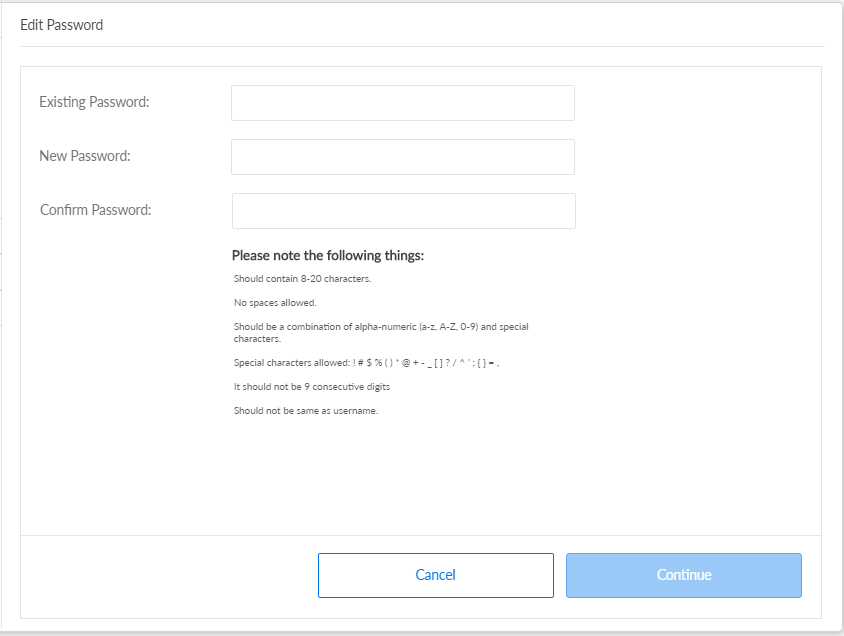
You must enter the current and new passwords in the appropriate fields. The new password must be different from the current password. You must follow these validation criteria while changing the password:
- It must be between 8-24 characters.
- You must not add any spaces.
- You can use these special characters: # $ % ( ) * @ + - _ [ ? ] / ^ ' ; = ,
- It can be a combination of alpha-numeric (a-z, A-Z, 0-9) and special characters.
- It must not be nine consecutive digits.
- It must not be the same as the previous password.
The password rules are displayed once you start typing the password in the respective field. The rules disappear once the user's entry matches with the defined rules.
Click Continue. The app displays the Password Verification screen.
When you select OTP

You must validate your identity by any one of the following methods:
- By entering a one-time passcode.
- Select the Using Code option. Click Proceed. The app displays the Security Settings Verification screen.
- Click Send. The app sends the six-digit verification code to your registered mobile number.
- Type the code in the provided field. If you did not receive any code, click Re-Send Code.
- Click Verify, and then click Done. The app updates the password and navigates you back to the Username & Password screen.
- By answering security questions. If you have not set up your security questions, the app navigates you to the Security Settings Verification screen to enter the OTP.
- Select the Answer Security Questions option. Click Proceed. The app displays the Answer Security Questions screen with two random security questions.
- Type the answers for both the questions.
- Click Verify, and then click Done. The app updates the password and navigates you back to the Username & Password screen.
Language
Use the feature to select the required language. Under the Profile Settings section, click Language. The app displays the Language screen. By default, English is selected in the Select Language list.
Do the following to change the language:
- Click the Select Language list, the app displays the list of languages available.
- Select the required language, and click Save. The app displays a confirmation screen.
- Click Yes. The language is updated accordingly throughout the application.
When you change the language, the app also changes the Date format, Currency format, and Number format as per the geo-location of the selected language. You can also change the language on the sign in screen.
Configuration
- The credential policies for updating user name and password are managed within the Spotlight application.
- All profile information updates are stored in the Spotlight (Customer 360) DB.
Add Bookmark
save your best linksView Bookmarks
Visit your best links BACK
BACK


Are you sure you want to log-off?