| Bookmark Name | Actions |
|---|
Account Settings
Use the feature to manage various account settings of your profile.
Menu Path:
- Side menu > Settings > Account Settings
- Top menu > Profile picture > Account Settings
You can add or modify any of the following details:
- Account preferences
- Set the default source account for various types of transactions
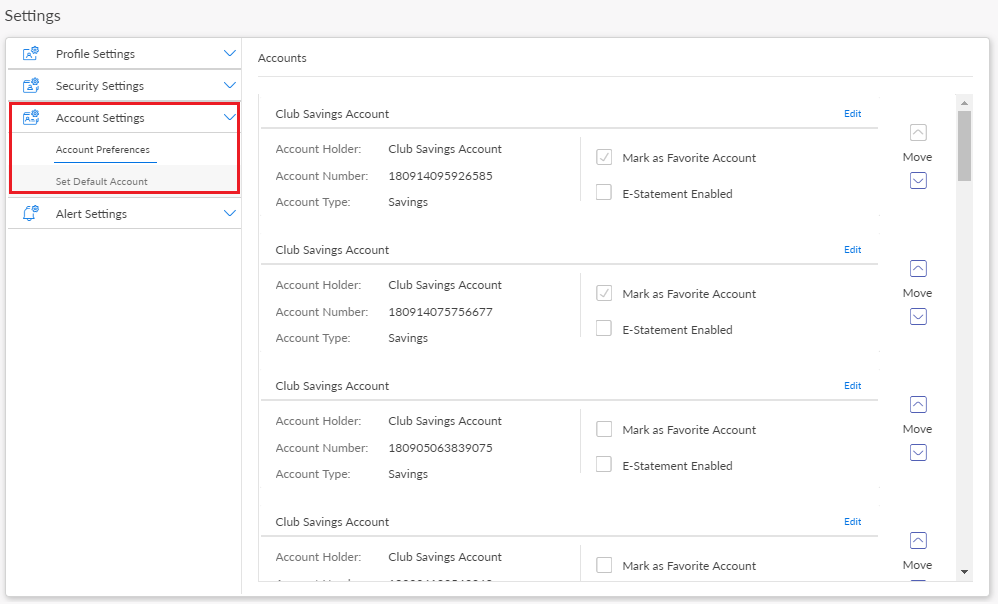
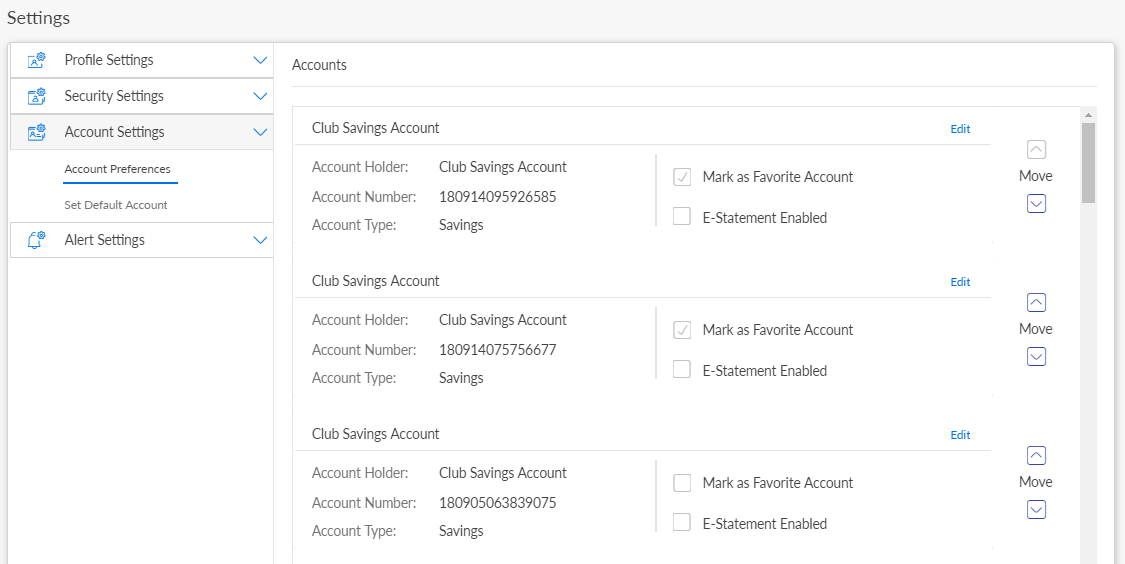
Account Preferences
Use the feature to view and set your account preferences so that you can use the application more efficiently. The preferences enabled in the online banking application will be reflected in all other banking applications of your bank.
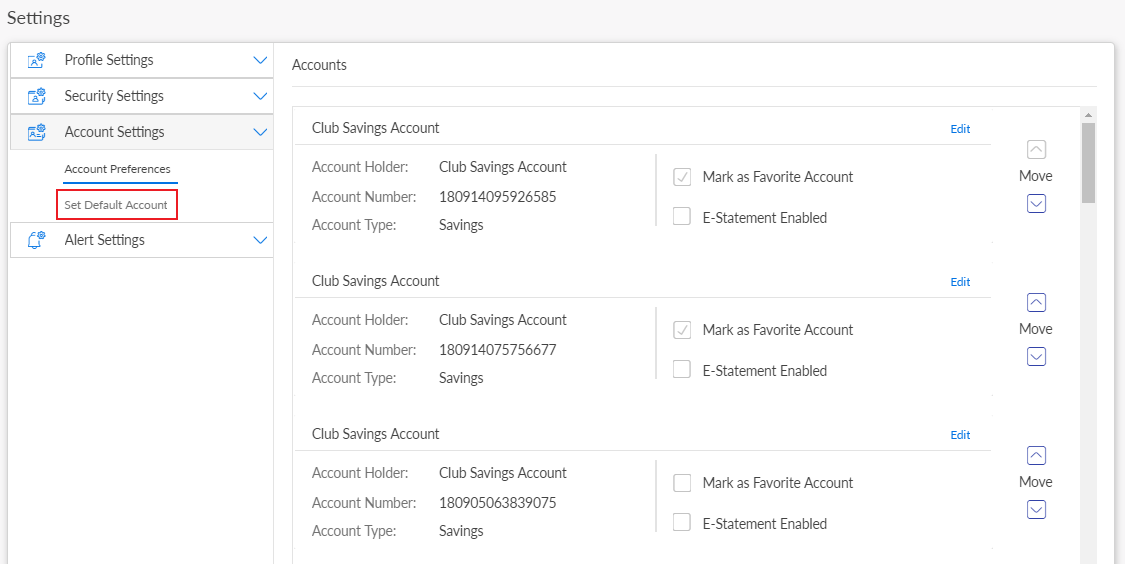
Under the Account Settings section, click Account Preferences. The app displays the Accounts screen.
Reorder Accounts
You can reorder your accounts so that you can view them based on your preference and ease.
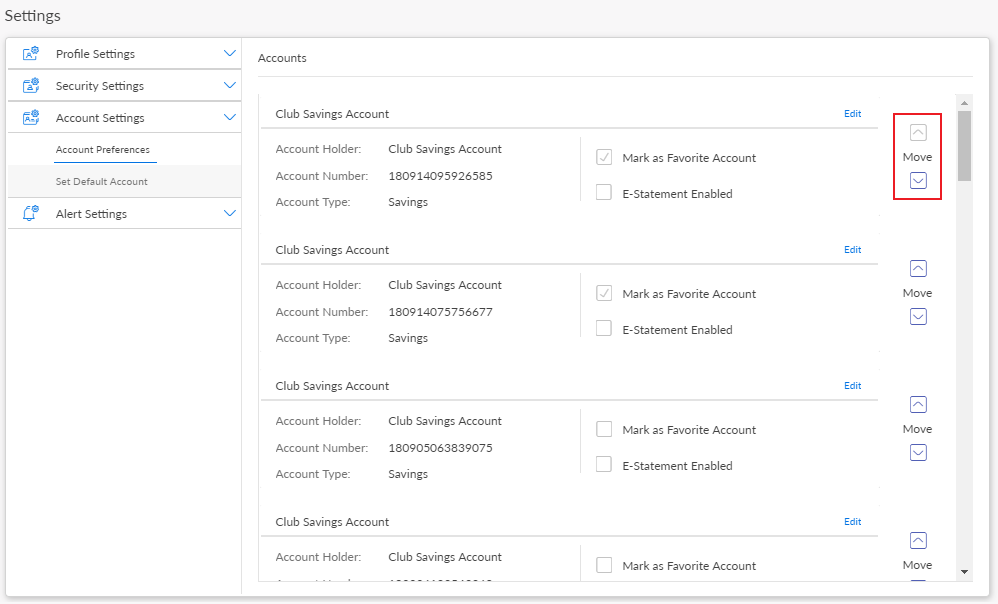
Click Move up or down for the required account to move it up or down the accounts list.
Please note that re-ordering accounts is available only for the internal accounts held with the bank. External Bank accounts added via Account Aggregation cannot be re-ordered.
Edit an Account
Click Edit on the required account. The app displays the Edit Accounts screen.
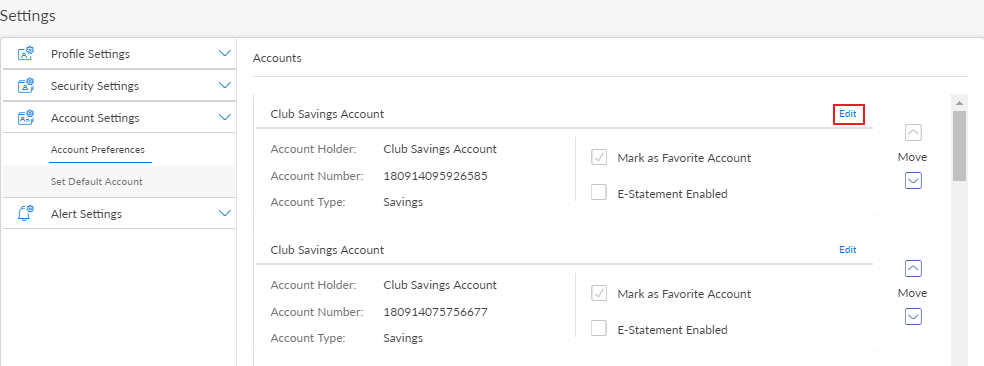
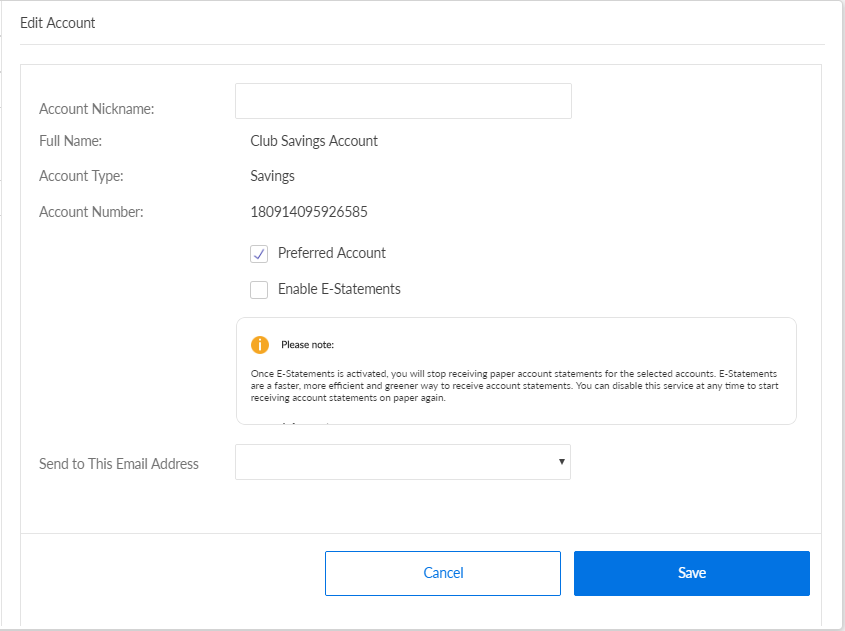
You can do any of the following:
- Add or modify the Account Nickname.
- Select/Clear the account as a preferred account. The app displays every favorite account on the Accounts Dashboard screen.
- Enable/Disable the e-statements feature for the selected account. If you enable, you will stop receiving the hard copies of the account statement to the registered address, and receive soft copy of the statement to your registered e-mail address. While enabling, you have to accept the terms and conditions associated with the e-statement service.
- Set the default e-mail for communication.
Click Save. The app updates the details of the account.
NOTE: All the above mentioned options may not be available for the external accounts added via Account Aggregation.
Set Default Source Account
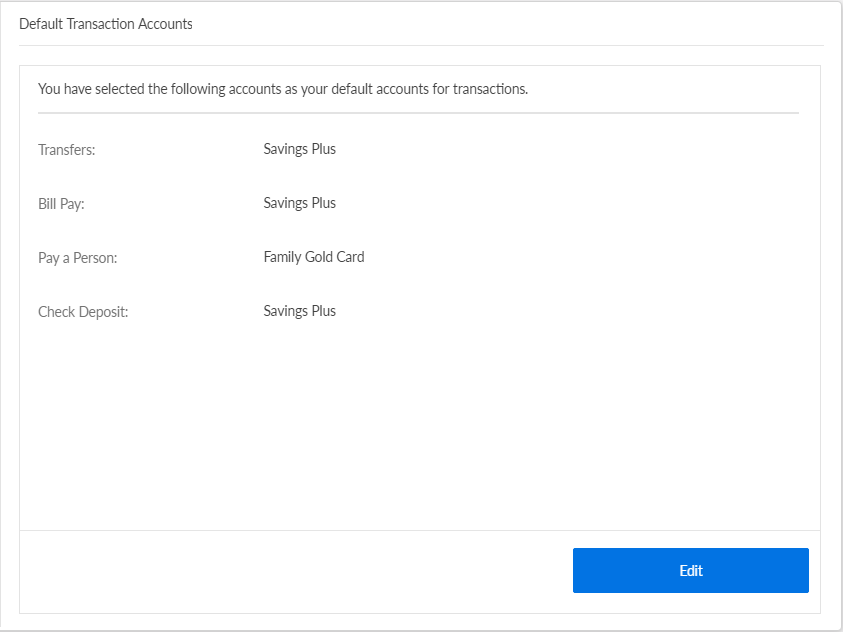
Use the feature to select the default "From" account for different types of transactions so that you do not have to select the account every time you make a new transaction. You can, however, change to a different source account while performing any transaction. Only the accounts based on the permission are displayed in the list. For a business user having access to multiple companies, the accounts are displayed as different companies followed by accounts of each company. For a combined user, the application displays accounts as personal and business and within business different companies followed by accounts of each company.
In the Account Settings section, click Set Default Account. The app displays the Default Transaction Accounts screen, with the list of previously saved default accounts for various types of transactions.
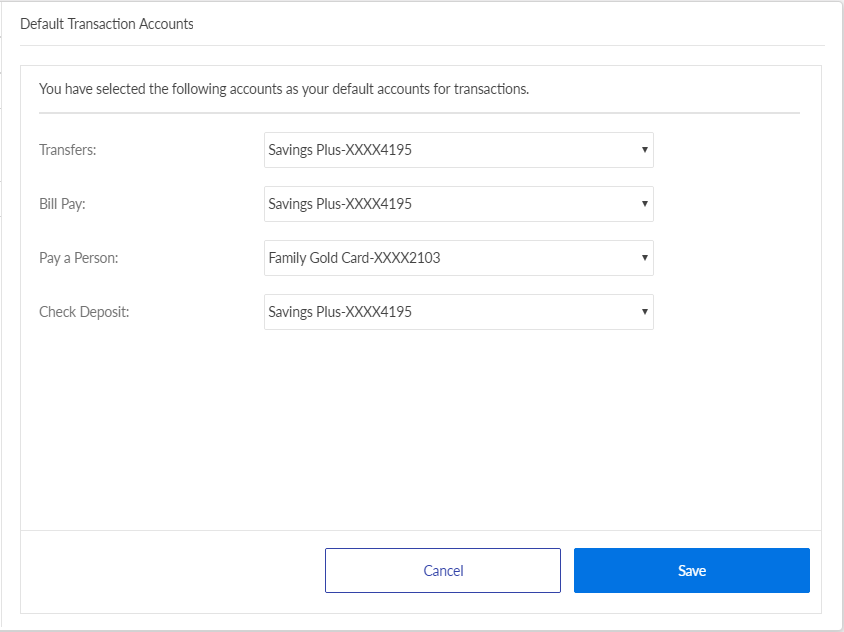
Click Edit. You can select the default account for the following types of transactions:
- Transfers
- Bill Pay
- P2P
- Check Deposit
The app lists only those accounts that are eligible for the particular transaction type.
You can also remove the default account for the transaction type, if required. In that scenario, you will have to select the account every time you perform a new transaction of that type.
Click Save. The app updates the default account of all the transaction types.
Add Bookmark
save your best linksView Bookmarks
Visit your best links BACK
BACK


Are you sure you want to log-off?