

| Bookmark Name | Actions |
|---|
Installing Due Diligence Microservices in Azure
This section helps you to install the Due Diligence Microservice into Azure cloud.
NOTE: Ensure to install Azure CLI (See CLI Setup), Mongo shell and Maven prior to the deployment and an active connection string of Mongo Atlas cluster (See Get Started with Atlas).
- You should have the Mongo Atlas Connection string for Java driver version 3.4.
- Download the mongo shell from the Mongo Atlas under the connect with mongo shell tab by clicking the connect button.
Procedure:
- Download the zip file.
- Extract the zip file.
- In command prompt, navigate to the installation directory and modify the details such as resource group, location, DB connection string, etc., in the install.sh or install.bat script specific to the installation.
You can change the default Azure function app name in the script. In case of app name changes, the folder available (ms-duediligence-azure\target\azure-functions\<app folder>\) in the name of the app should also be renamed.
- Perform the JWT Authorization setup in the installation scripts to enable the in-house authentication in addition to API key.
- Execute install.sh or install.bat.
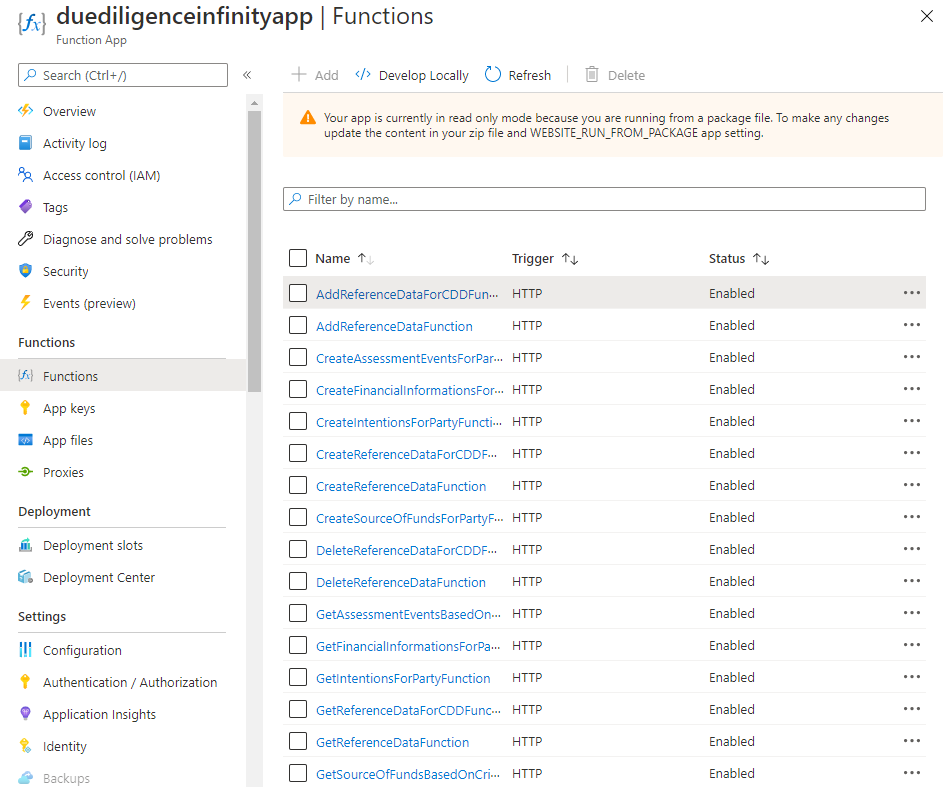
Once the installation is done, the functions are created in Azure.
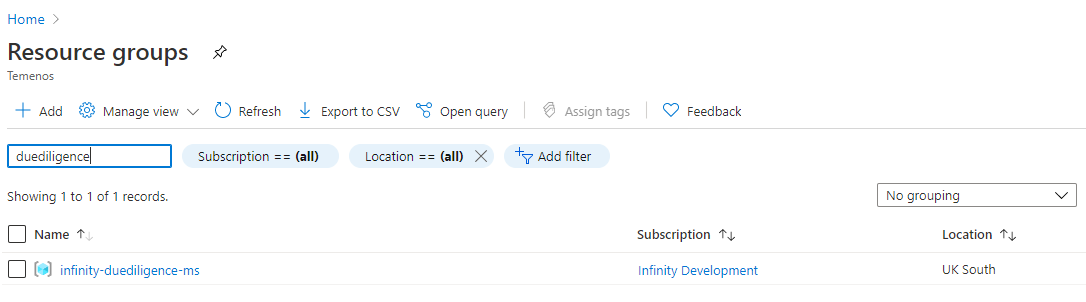
- Log in to Azure portal and check if the following have been created.
- Resource Group

- Function App
- Due Diligence Functions

You can retrieve the API key for each endpoint in the function app using the command below.
func azure functionapp list-functions <function-app-name> --show-keys
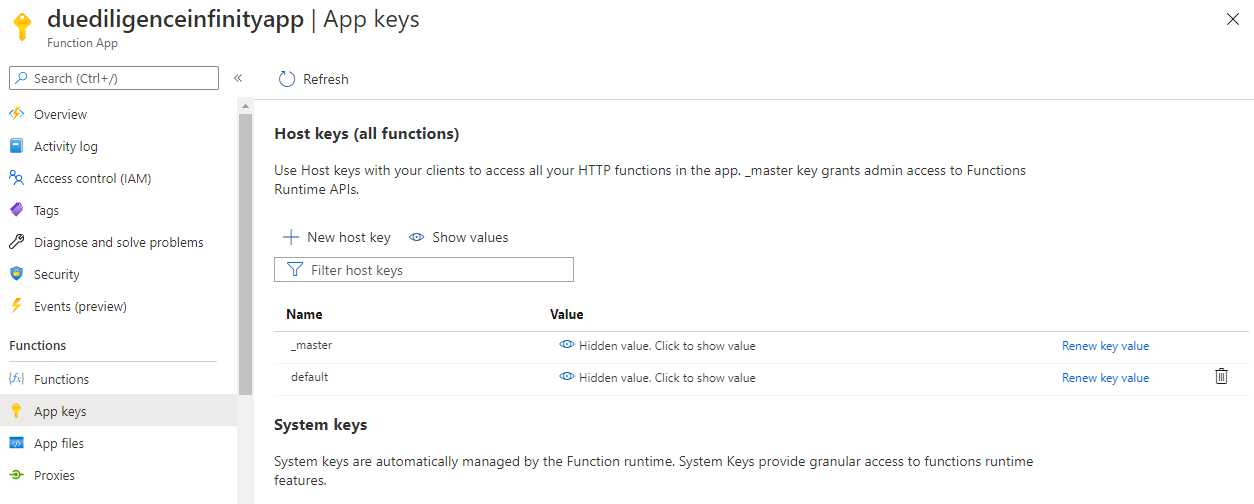
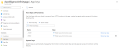
You can also retrieve the API key using the Azure function GUI as shown below.
You can retrieve the endpoints of the azure function app from the Azure Function App. Below is the URL of sample function app.
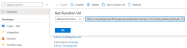
The Get Function URL provides the complete URL with API key.
After the successful deployment database, collections and the reference data(master data) are loaded into the mongo server database for Due Diligence microservice.
- Resource Group
Add Bookmark
save your best linksView Bookmarks
Visit your best links BACK
BACK


Are you sure you want to log-off?